From the board's bag to a Link on Wi-Fi.
You flash the Link firmware once from the browser, plug the board into the cart and do the rest from the console menu: Wi-Fi and account. After that you update the Link from the console menu, with no computer.
- What you need
- The pins are not used
- The two connectors
- Connect the board to the computer
- Install the firmware
- Board on the cart and the charger
- Turn on the console
- Connect to Wi-Fi
- Link it to your account
Preview: the sd2snes+ Link arrives together with the sd2snes+ 3.0 firmware, which is still in testing. This page describes what already works on the hardware.
What you need
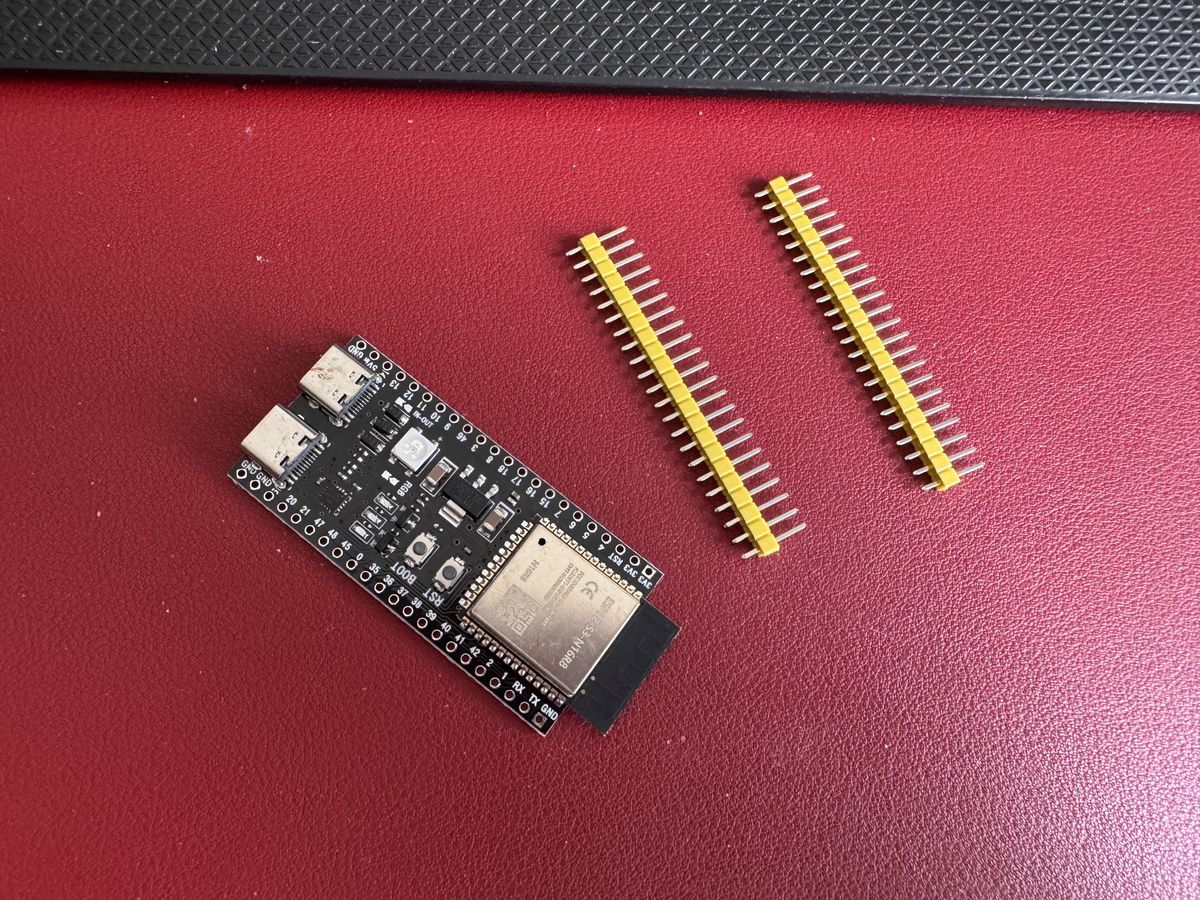
- An ESP32-S3 N16R8 board (DevKitC-1 form factor, with two USB-C connectors). It usually ships in an anti-static bag.
- A 5 V USB charger (0.5 A minimum, 1 A recommended) and a USB-C cable for it.
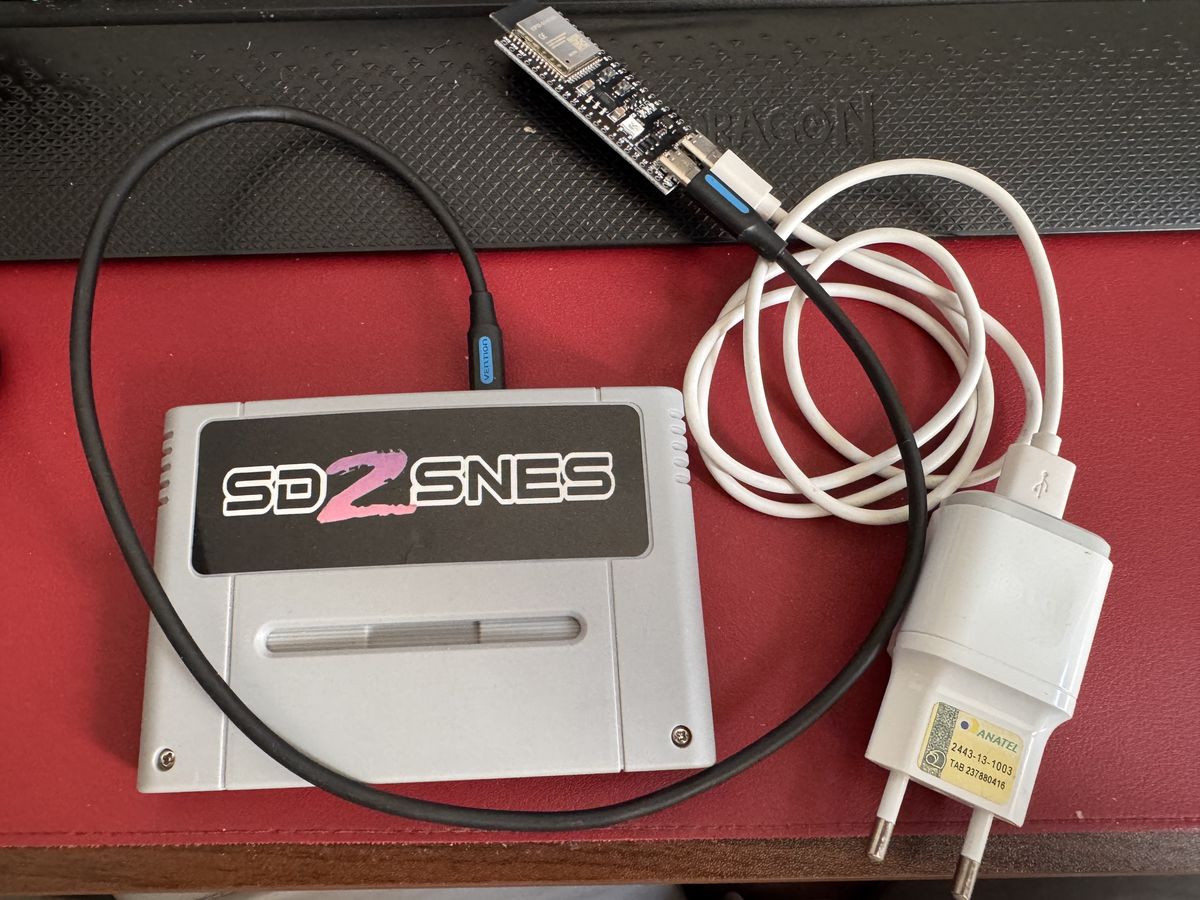
- A cable from the board's USB-C to the cart's USB port (in the photo, USB-C to micro-USB).
- The sd2snes or FXPAK PRO with the sd2snes+ 3.0 firmware on the card.
- Only for the first flash: a computer with Chrome, Edge or Opera.
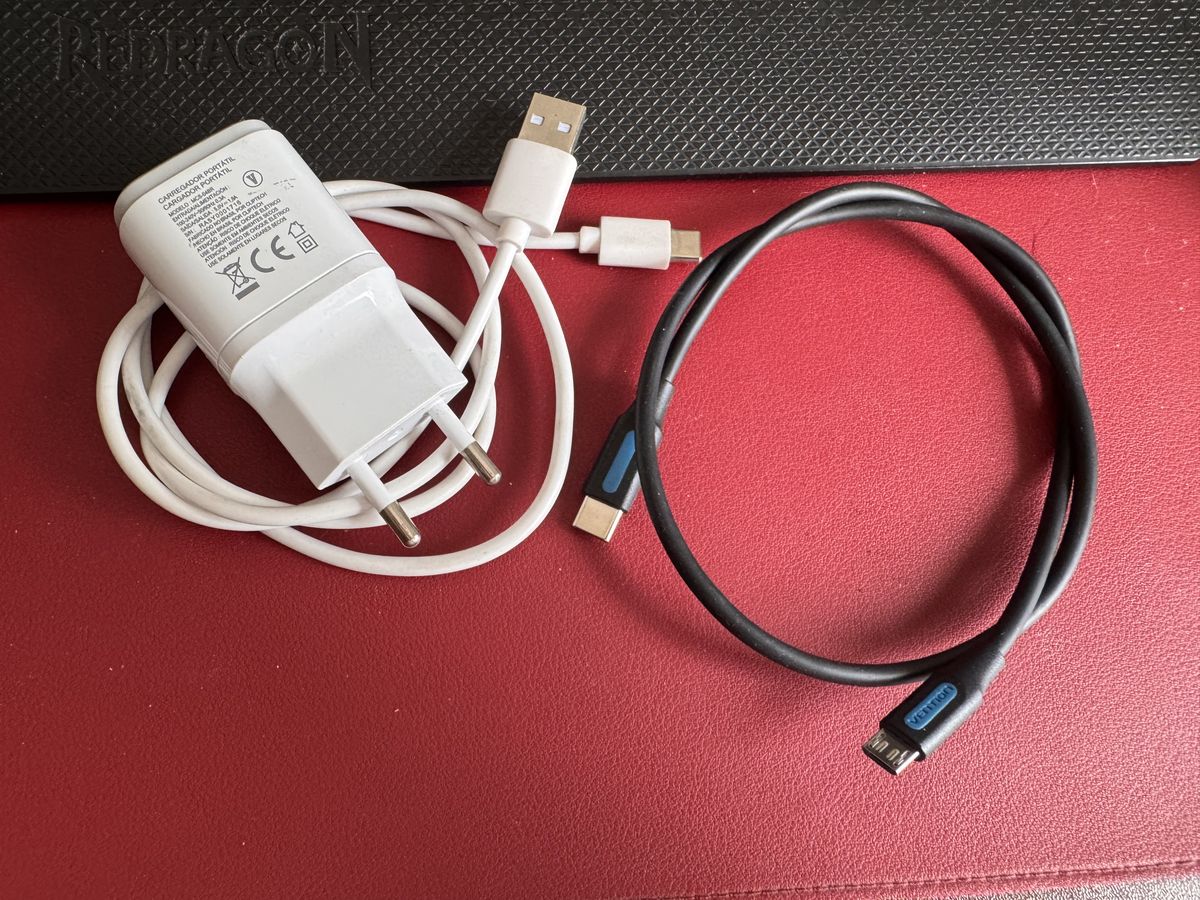
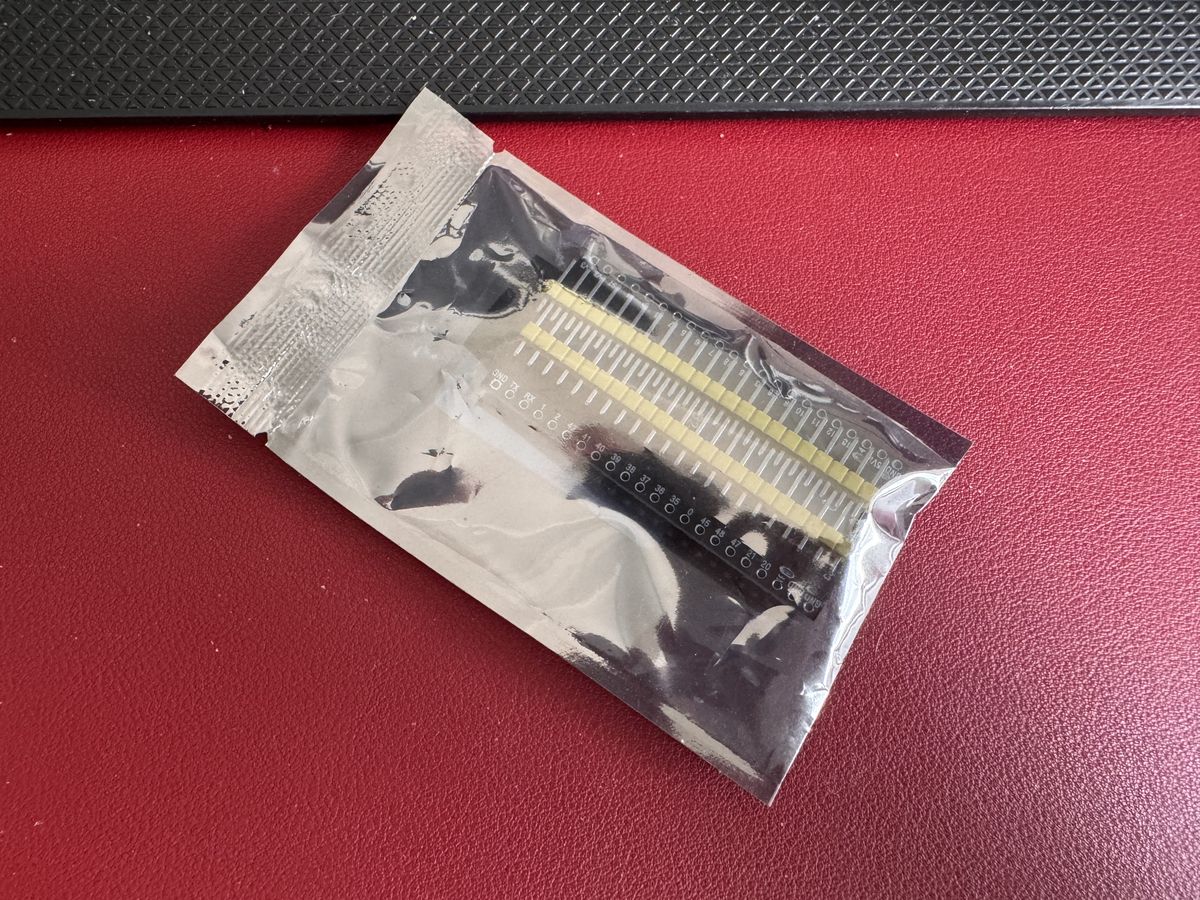
The pins are not used
The board comes with two pin headers to solder. The Link uses no pins at all: everything goes through the two USB connectors. There is nothing to solder; keep the headers or set them aside.
The two connectors
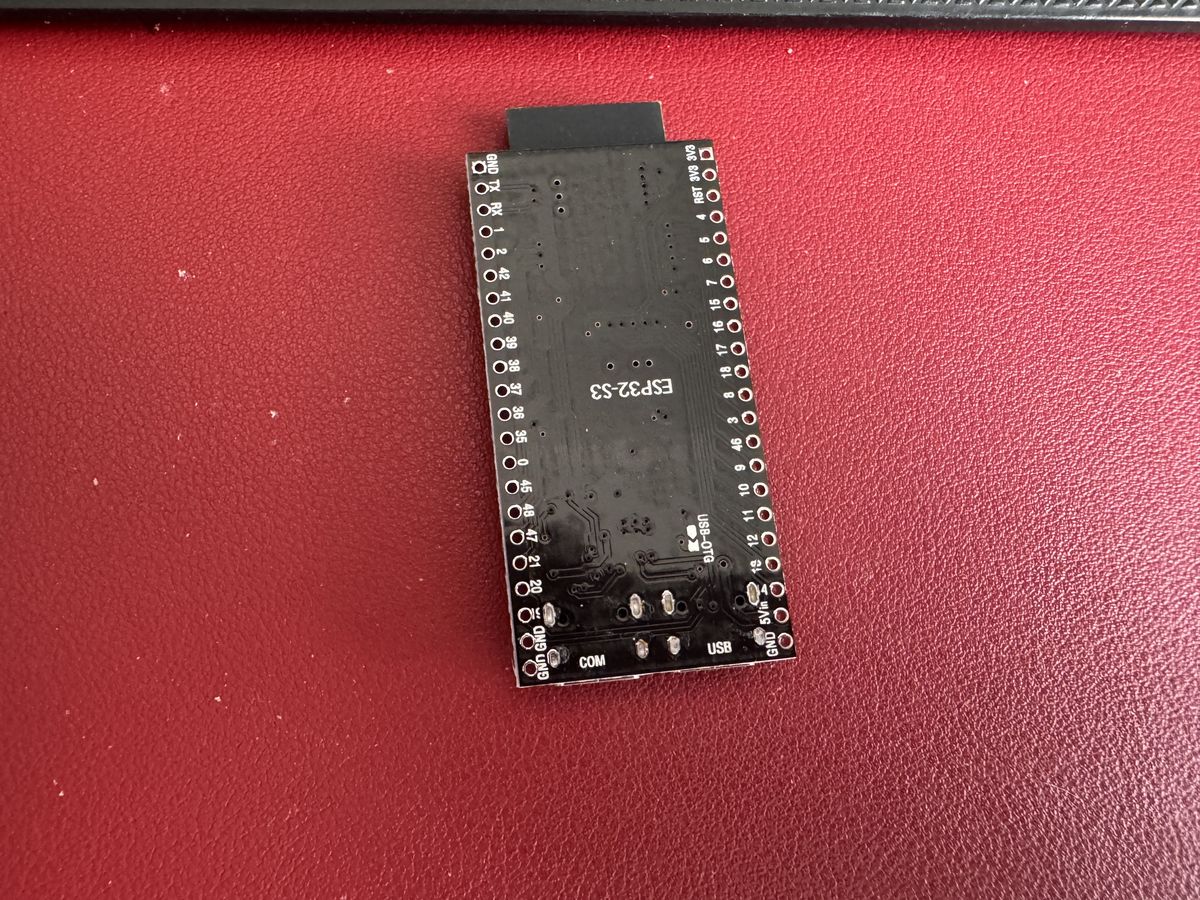
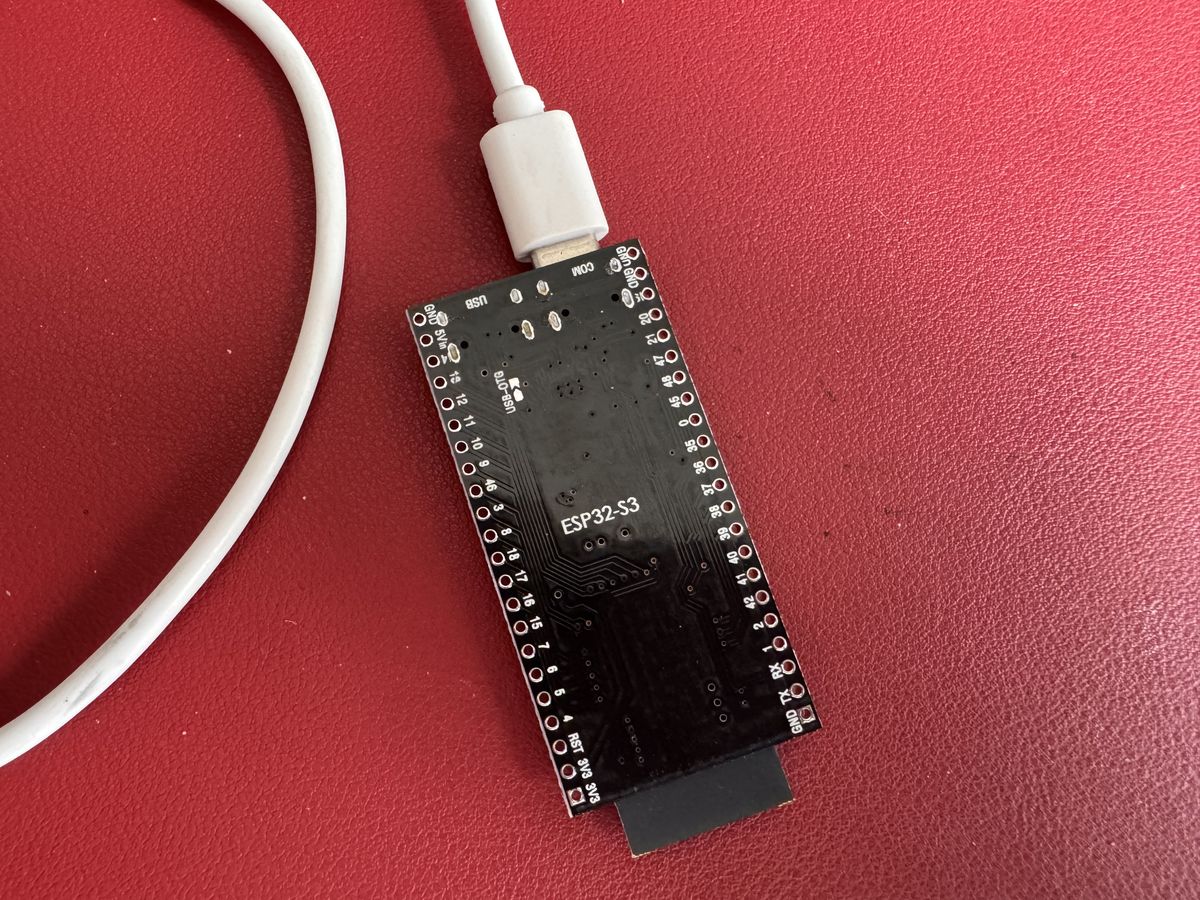
Turn the board over: the back shows the name of each USB-C connector. On some boards they read UART and OTG.
- COM (UART): goes to the computer, only for the first flash, and then stays on the charger.
- USB (OTG): goes to the cart.
Connect the board to the computer
Open the installer before plugging in the board: that way you see which port shows up in the list when it arrives.
This browser can't flash boards over USB. Use Chrome, Edge or Opera on a computer (Windows, macOS or Linux). Safari, Firefox and mobile browsers don't have Web Serial.
The installer hasn't been published yet. It goes live together with the launch of the sd2snes+ Link.
Already have a working Link? You don't need the installer: update it from the console menu, in Configuration › Link › Firmware updates.
- Click Connect and flash. The browser opens the list of serial ports.
- With the list open, plug the board into the computer through the COM connector. Flashing does not work through USB (OTG).
- A new port appears in the list: that's the board. The name depends on the system (on the macOS in the video,
USB Single Serial). Pick it and click Connect.
- No new port? Try another cable (some only charge, with no data) or install the driver for the board's USB-serial chip.
- It shows up but won't connect? Enter flashing mode: hold BOOT, press and release RST, release BOOT and try again.
Install the firmware
Once connected, the installer opens its own window.
- Pick Install sd2snes+ Link.
- At Erase device, on a new board, tick the box and click Next.
- Confirm with Install.
- Wait for the flashing to finish without unplugging the board.
- At Installation complete, click Next and unplug the board from the computer.
"Erase device": the installer asks whether it should erase the flash first. On a new board, erase it. On a Link that was already working, erasing loses the saved Wi-Fi and account pairing, and you have to set both up again.
Board on the cart and the charger
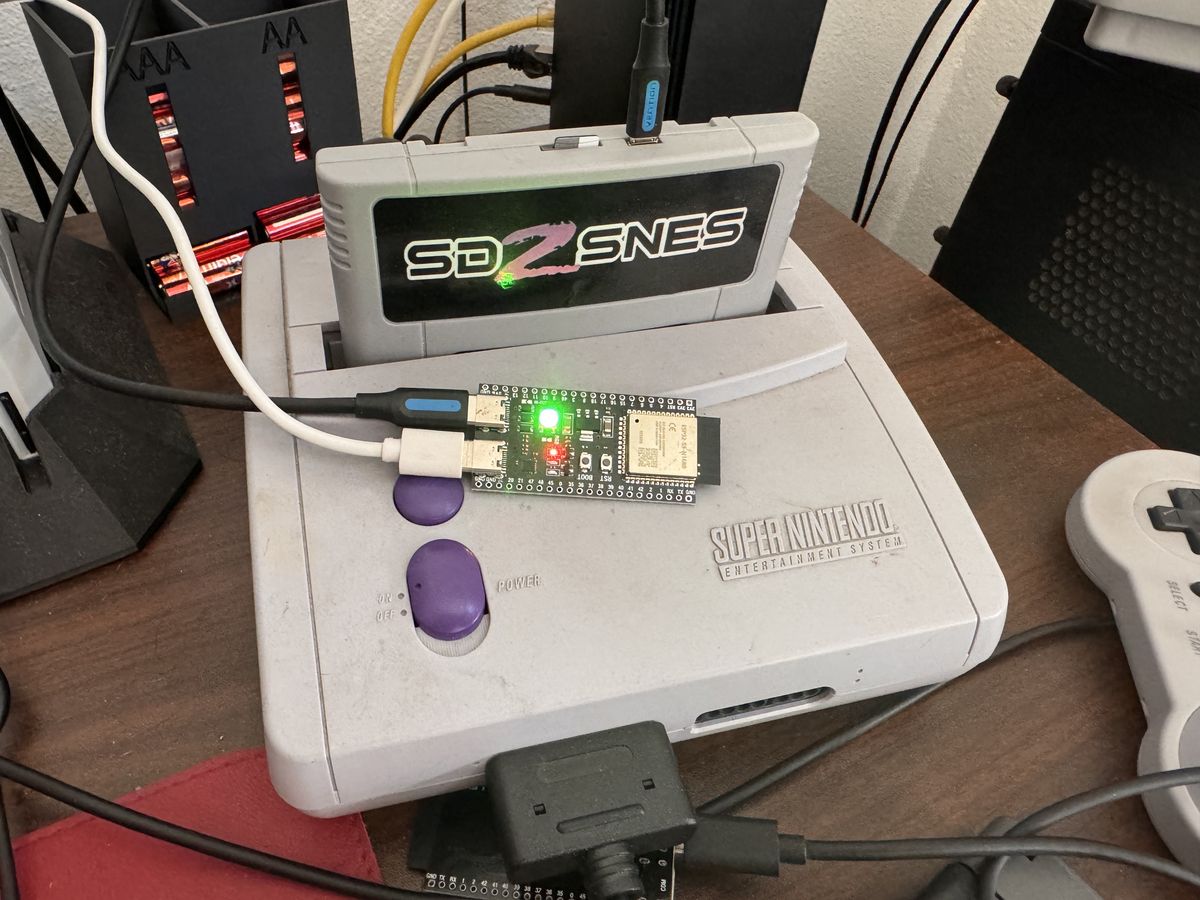
- The board's USB (OTG) connector goes into the cart's USB port.
- The COM (UART) connector goes into the 5 V USB charger. That is where the Link gets its power.
- The computer is out of the picture: new versions arrive over Wi-Fi.
Turn on the console
Put the cart in the console and turn it on. With the sd2snes+ 3.0 firmware, the menu gets Configuration › Link, where Wi-Fi and the account live.
Connect to Wi-Fi
- In the menu, press X and open Configuration › Link › Wi-Fi.
- Choose Look for networks and select your network.
- Type the password on the on-screen keyboard (the buttons are shown below it) and confirm.
- In a few seconds the screen shows the network, the IP and the signal.
With no known network, the Link also opens the access point sd2snes-XXXX about 30 s after power-on: join it from your phone and open http://192.168.4.1.
Link it to your account
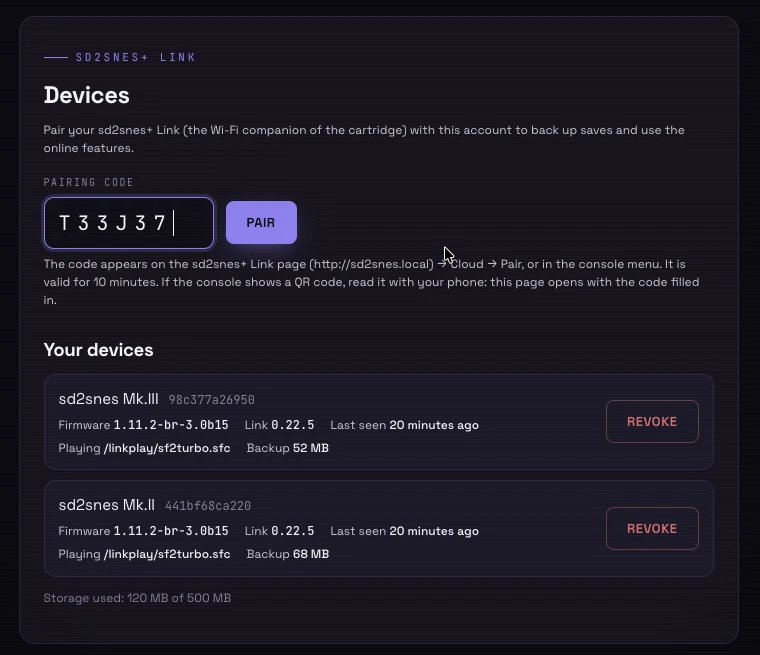
Cloud save backup and the online features use your GamesDB account. Pairing is done once.
- In Configuration › Link, choose Cloud account: Not paired.
- The TV shows the address
sd2snes.ludufre.com/gamesdb/devices, a 6-character code and a QR code. - Point your phone at the QR code (the page opens with the code filled in) or open the address, sign in and type the code.
- Confirm: the Link shows up in your account's device list. The code is valid for 10 minutes.
The Link is online.
From here on you update the Link from the console menu, with no computer. With the Link on your network, the Web Manager opens at http://sd2snes.local (or at the IP on the Wi-Fi screen).